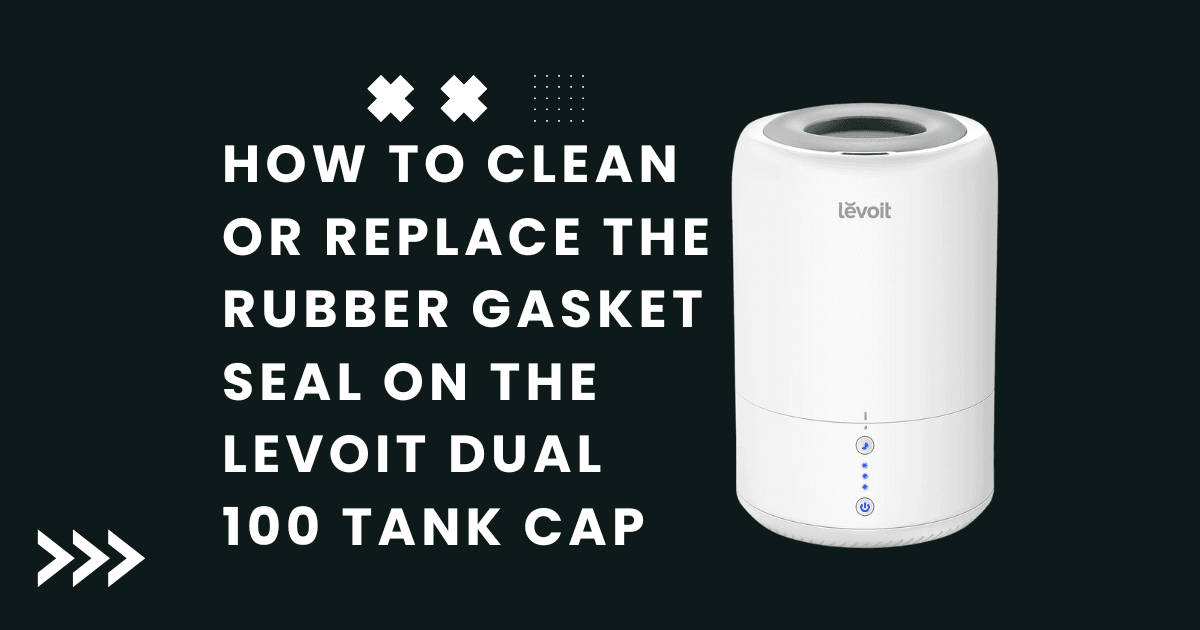
The rubber gasket inside the Levoit Dual 100’s water tank cap is the sole barrier preventing water from leaking out of the inverted tank as it sits in the base unit. It is a component that most owners ignore completely until the Dual 100 begins pooling water around its base, at which point the gasket is almost always the first thing to investigate. Beyond its sealing function, the gasket’s recessed position inside the cap creates a consistently moist, dark, enclosed environment that is one of the most hospitable locations in the entire humidifier for mold and bacterial growth. A gasket that is not cleaned regularly develops a black or pink biofilm that contaminates the water supply and is responsible for the unpleasant odor that neglected Dual 100 units develop.
This guide covers the complete gasket care protocol: what the gasket does mechanically, why it fails as a seal, what grows on it and why, how to clean it correctly, and when cleaning is no longer sufficient and replacement is necessary.
THE TANK CAP GASKET: FUNCTION AND DESIGN
The Levoit Dual 100 uses an inverted tank design; the water tank is filled, capped, and then placed upside-down into the base unit where its outlet allows water to flow into the base’s water chamber by gravity as needed. The tank cap sits at the bottom of the inverted tank and must seal the tank opening while also incorporating a valve that allows water to flow into the base when opened by the base unit’s activation mechanism.
The rubber gasket in the tank cap performs the primary sealing function. It is an O-ring or flat-profile ring of silicone or EPDM rubber that creates a watertight seal between the cap body and the tank’s threaded opening. When the cap is tightened onto the tank, the gasket compresses slightly, filling any surface irregularities between the cap and the tank mouth and preventing water leakage around the cap perimeter.
The valve mechanism within the cap (a spring-loaded pin or rubber flap that opens when the cap assembly is seated in the base unit’s inlet) is separate from the gasket but works in conjunction with it; the gasket prevents leakage around the outside, while the valve controls flow through the center.
WHY THE GASKET FAILS AS A SEAL
The gasket develops leaks through three mechanisms:
1. Compression set (permanent deformation)
Rubber materials develop permanent compression set when held in a compressed state for an extended period; they lose their ability to spring back to their original thickness after the compressive load is removed. A gasket with significant compression set no longer fills the gap between cap and tank mouth effectively, allowing water to seep through the remaining gaps. This is a material aging failure; it occurs gradually over years of use and cannot be reversed. Replacement is the only remedy.
Visual identification: A gasket with compression set appears thinner than a new gasket and shows a flat, groove-like impression around its circumference where it was previously compressed.
2. Physical damage
Overtightening the tank cap applies excessive compression force that can cut or crack the gasket, particularly at the inner edge where the cap body’s plastic can act as a cutting edge. A gasket with a cut or tear will leak at the damaged location regardless of tightening force.
Visual identification: A visible cut, nick, or tear anywhere on the gasket ring.
3. Swelling from chemical exposure
Some cleaning agents, particularly those containing harsh solvents, bleach at high concentrations, or certain descaling acids, can cause rubber gaskets to swell slightly. A swollen gasket may not fit correctly in its channel and can deform around the cap’s seating surface rather than compressing uniformly. The correct descaling approach for the Dual 100 using white vinegar at the correct dilution rather than harsh acids is important partly because it avoids gasket damage.
THE GASKET AS A MOLD GROWTH LOCATION
The rubber gasket and the channel it sits in represent one of the three highest-risk locations for mold and biofilm growth in the Levoit Dual 100 (alongside the mist chimney and the water chamber floor near the transducer). The conditions that promote microbial growth are all present:
- Consistent moisture (the gasket is always wet when the tank is in use)
- Warmth (the base unit generates slight heat during operation)
- Darkness (the cap assembly is enclosed)
- Organic nutrients (trace amounts of minerals, body oils from handling, and atmospheric particulates dissolved in the water)
The result is a progressive black, pink, or orange biofilm that develops on the gasket’s inner surface and in the cap channel within 2-4 weeks of non-cleaning in typical household water conditions. This biofilm, primarily composed of Serratia marcescens bacteria (responsible for the pink color) and various mold species, is directly transferred to the tank water when the cap is used, contaminating the mist produced by the humidifier with microbial aerosols.
The consequence for users is the characteristic musty, stale, or sour smell that develops from neglected ultrasonic humidifiers and that is often incorrectly attributed to the water quality or to the humidifier’s plastic components.
CLEANING THE GASKET: CORRECT PROCEDURE
Cleaning frequency: weekly for continuous daily use; after every refill if the tank is not emptied between uses.
What is needed: white vinegar (distilled, 5% acidity), small soft brush (clean toothbrush), clean water for rinsing, optional: hydrogen peroxide (3% solution) for biofilm that vinegar does not remove.
Step 1 – Remove the tank cap from the water tank
Unscrew the cap counterclockwise from the tank opening. The gasket is accessible when the cap is removed.
Step 2 – Remove the gasket from its channel
The gasket sits in a groove in the cap body. Use a fingernail or a plastic pick to lift one edge of the gasket out of the groove and work it around the circumference until it comes free. Note the gasket’s orientation and which face was against the tank opening (the sealing face should be reinstalled in the same orientation).
Step 3 – Soak in white vinegar
Place the gasket in undiluted white vinegar for 15-30 minutes. The acetic acid dissolves mineral scale deposits that have formed on the gasket surface and loosens the biofilm.
Step 4 – Brush gently
Using the soft toothbrush, scrub the gasket surface on both faces and the inner and outer curved surfaces. Pay particular attention to the channel-facing surface where biofilm accumulates in the cap groove.
Step 5 – For persistent pink or black biofilm
Apply 3% hydrogen peroxide solution to the gasket with a cotton swab and allow it to sit for 5 minutes. The oxidizing action of hydrogen peroxide kills the bacteria and bleaches the biofilm without damaging the rubber.
Step 6 – Rinse thoroughly under clean running water
Hold the gasket under a stream of lukewarm, clean running water to wash away all traces of vinegar, dissolved minerals, and loosened biofilm. Gently rub the rubber surface with your fingers while rinsing to ensure no chemical residue or cleaning debris remains. Once completely clean, gently shake off the excess water and pat the gasket dry with a clean, lint-free microfiber towel.
Step 7 – Clean the cap channel
Use a cotton swab soaked in vinegar to clean the groove in the cap body where the gasket sits. Biofilm in the channel will recontaminate a clean gasket if it is not also removed.
Step 8 – Reinstall the gasket
Press it firmly back into the channel groove around its full circumference, confirming it is seated uniformly without any section sitting above the groove lip.
REPLACING THE GASKET
When the gasket shows compression set deformation, physical damage, or has developed a hardening or cracking that cleaning cannot resolve, replacement is appropriate.
Sourcing replacement gaskets: Levoit sells replacement tank caps (which include the gasket) through their website and customer support. A replacement cap assembly is the most convenient approach as it includes the correctly dimensioned gasket in the correct rubber compound.
If sourcing only the gasket ring: measure the gasket’s inner diameter, outer diameter, and cross-section thickness, and source a silicone O-ring of identical dimensions from a hardware store or online O-ring supplier. Silicone rubber is preferred over EPDM for humidifier applications; it is more resistant to compression set and has better long-term moisture exposure durability.
Installation: Press the new gasket uniformly into the cap channel. Before using, fill the tank and hold it inverted over a sink for 30 seconds to confirm no dripping at the cap seal. If dripping occurs, the gasket is not fully seated or is the wrong size.