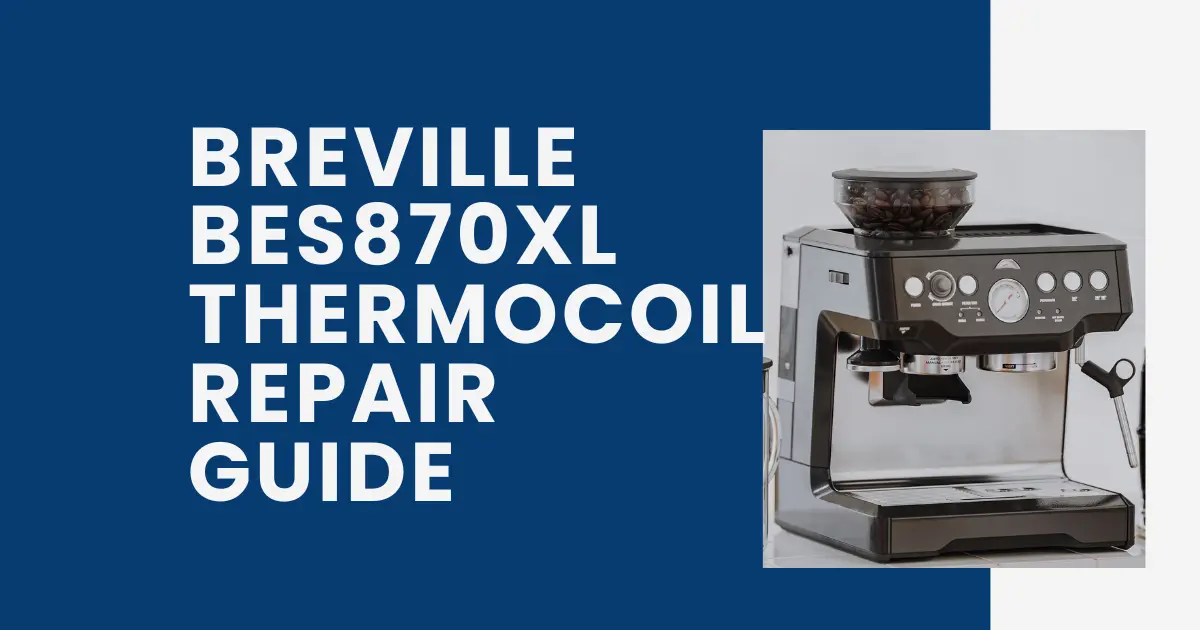
The thermocoil is the heating element at the center of the Breville BES870XL’s thermal architecture. It is the component that transforms cold tap water into the precisely heated brew water that espresso extraction requires, and it does so through a design that is fundamentally different from the boiler-based heating systems used in traditional espresso machines. Understanding what the thermocoil is, how it heats water, how it fails, and how to repair or replace it is essential knowledge for any BES870XL owner who wants to maintain the machine at a component level rather than simply replacing the entire unit when a heating problem develops.
WHAT THE BES870XL THERMOCOIL IS AND HOW IT WORKS
The thermocoil is a tightly coiled stainless steel tube, typically 4 to 6mm inner diameter, that is wound in a compact helix around or within a resistive heating element. Water from the pump flows through the interior of this tube while the heating element raises the tube temperature. Because the tube has a very small cross-sectional area and a relatively long coiled path, water passing through it reaches the target brew temperature (approximately 93°C to 96°C for the BES870XL’s espresso setting) in a single controlled pass.
This is the “heat on demand” or thermocoil/thermoblock architecture: rather than maintaining a large reservoir of hot water (as a conventional boiler does), the BES870XL heats only the water that is immediately about to be used, on demand. The thermal mass of the system is small, which is why the BES870XL reaches brew-ready temperature in 30 to 45 seconds from a cold start, far faster than a boiler-based machine.
The thermocoil in the BES870XL is a single-unit assembly that includes the coiled tube, the resistive heating element surrounding it, a temperature sensor (NTC thermistor or thermocouple) that feeds temperature data to the control board, and a thermal cutoff fuse that disconnects power if the thermocoil overheats beyond a safe threshold. This entire assembly is what is referred to as “the thermocoil” in the service context.
HOW THE THERMOCOIL FAILS: FOUR DOCUMENTED FAILURE MODES
Thermocoil failures on the BES870XL fall into four categories, each producing a distinct symptom pattern and requiring a different repair approach.
Failure Mode 1 – Internal Scale Blockage
The most common thermocoil problem on the BES870XL is not a component failure at all; it is mineral scale accumulation inside the coiled water tube. Calcium and magnesium carbonates from the water supply deposit on the inner tube walls wherever the water temperature is highest. In the thermocoil, this means the entire heated section of the tube progressively narrows as scale accumulates over months of use.
The symptom progression is gradual: extraction times increase slowly, water temperature becomes inconsistent, and eventually flow through the thermocoil becomes severely restricted. In advanced cases, scale blockage reduces thermocoil flow to a trickle, which the machine’s control system interprets as potential overheating and triggers the thermal cutoff, shutting the machine down entirely.
This failure mode is addressed by descaling, not component replacement.
Failure Mode 2 – Heating Element Burnout
The resistive heating element surrounding the thermocoil tube can fail through open-circuit burnout, typically caused by running the heating element without water flowing through the tube (dry firing). This can occur if the water tank runs empty during operation and the machine continues attempting to heat. The heating element reaches temperatures far above its rated operating point without the water absorbing its output, and the resistive wire breaks.
The symptom is complete loss of heating function with no recovery after cooldown. The NTC thermistor will report ambient temperature to the control board; the board will command heating, but no temperature rise will occur.
Failure Mode 3 – Thermal Cutoff Fuse Activation
The thermal cutoff fuse is a one-time-use safety device that permanently breaks the heating circuit if the thermocoil exceeds a specific temperature threshold (typically 130°C to 150°C). Once triggered, it cannot be reset; the fuse is destroyed on activation.
A triggered thermal cutoff produces sudden complete loss of heating with no prior warning. It is most commonly caused by a dry-fire event (as described above) or by a temperature sensor failure that caused the control board to continue heating beyond the normal setpoint. The fuse itself is a standard thermal cutoff rated for the appropriate temperature, available from electronics suppliers, and can be replaced without replacing the entire thermocoil, but the root cause of the overheating must be addressed simultaneously, or the new fuse will simply trigger again.
Failure Mode 4 – Water Tube Leak
A leak in the thermocoil water tube produces hot water escaping into the machine interior, which can cause corrosion, electrical shorts, and visible water pooling at the machine base. This failure mode is caused by corrosion of the stainless steel tube (accelerated by low-pH water or aggressive descaling solution concentrations), physical damage, or rarely a manufacturing defect. A leaking thermocoil tube requires full thermocoil assembly replacement.
DIAGNOSING THE CORRECT FAILURE MODE
Before performing any repair, confirm which failure mode is present using the following checks:
Does the machine heat at all?
Power the machine on and wait two minutes. Touch the group head; it should become warm to the touch if heating is occurring. If the group head is cold, measure voltage at the thermocoil’s heating element terminals during a heating cycle with a multimeter. Voltage present + no heating = element burnout or thermal cutoff failure. No voltage present = control board or temperature sensor fault.
What is the machine’s descaling history?
If the machine has not been descaled in more than six months and the symptom is reduced or inconsistent heating with some residual function, scale blockage is the most likely cause, and descaling should be the first intervention.
Was the water tank empty when the problem began?
If the machine ran dry, the water tank emptied during or before the heating cycle; dry firing and thermal cutoff activation are the primary suspects.
Is water leaking from the machine base during operation?
If hot water or steam is visible inside the machine or at the base, a thermocoil tube leak is the likely cause and requires component-level inspection.
DIY REPAIR 1: DESCALING FOR SCALE BLOCKAGE
A scale-blocked thermocoil is the one thermocoil “failure” that does not require any component replacement. The repair is a thorough descaling cycle using a citric acid-based descaling agent.
Standard descaling cycle: Follow the BES870XL’s built-in descaling program using Breville’s recommended descaling solution or 25 grams of citric acid dissolved in 1 liter of water. The machine’s descaling program routes the solution through the thermocoil at a low flow rate, allowing extended contact time with scale deposits.
For heavily scaled thermocoils
If the standard cycle does not restore normal flow and temperature, perform a soak-descale: run the descaling cycle until the machine enters its mid-cycle pause, then allow the solution to sit in the thermocoil for 45 to 60 minutes before completing the program. This extended contact time dissolves deeper scale layers that a standard cycle passes through too quickly to fully address.
After descaling, always run a minimum of three full tank flushes with clean water to remove all descaling solution residue from the thermocoil and group head circuit.
DIY REPAIR 2: REPLACING THE THERMAL CUTOFF FUSE
The thermal cutoff fuse is the most accessible thermocoil repair. It is located on the exterior of the thermocoil housing and is connected in series with the heating element power circuit.
Tools required: Phillips screwdriver, flat-head screwdriver, multimeter, soldering iron and solder (or appropriate crimp connectors), replacement thermal cutoff fuse (correct temperature rating; verify against the fuse marked on the original).
Step 1 – Unplug and Fully Cool the Machine
Unplug the espresso machine from the wall outlet completely to eliminate any risk of electrical shock. If the machine was recently powered on, allow it to cool down for at least 30-45 minutes before starting work. Working on a cold unit prevents severe burns from hot thermocoil surfaces, steam lines, or internal brass fittings, and ensures a safe workspace while preparing your tools.
Step 2 – Access the Internal Thermocoil Unit
Remove the outer panels to access the thermocoil. The thermocoil is mounted centrally in the machine interior, connected to the water circuit by two hoses and to the electrical circuit by two or more wires.
Step 3 – Identify the Thermal Cutoff Fuse
Locate the thermal cutoff fuse. It is a small cylindrical component (approximately 10mm length, 6mm diameter) typically secured with a hose clamp or clip against the thermocoil body and connected in series in one of the heating element power wires.
Step 4 – Perform Continuity Testing with a Multimeter
Test the existing fuse with a multimeter in continuity mode. A triggered thermal cutoff will show an open circuit (no continuity). A functioning fuse will show continuity (near-zero ohms).
Step 5 – Remove and Install the Replacement Fuse
If an open circuit is confirmed, desolder or uncrimp the fuse from the wiring. Note the temperature rating printed on the fuse body and source an identical replacement. Solder or crimp the replacement into the circuit, and insulate all connections with heat-shrink tubing.
Step 6 – Diagnose the Overheating Root Cause
Before reassembling, identify and address the root cause of the overheating that triggered the original fuse (dry fire damage to the heating element, temperature sensor failure). A new fuse installed in an unchanged system will simply trigger again.
Step 7 – Reassemble and Verify Operation
Reinstall the outer housing panels, fill the water tank, plug in the power cord, and switch the machine on. Run a test cycle to confirm the thermocoil heats up properly, maintains stable temperature, and operates safely.
DIY REPAIR 3: FULL THERMOCOIL REPLACEMENT
Full thermocoil replacement is required for heating element burnout or tube leak failure. This is the most involved thermocoil repair but is within the capability of a methodical home technician.
Sourcing the correct thermocoil
The BES870XL thermocoil is available from Breville as a service part. Third-party compatible thermocoils are available but require careful specification matching: inner tube diameter, coil length, power rating (typically 1300–1450W for the BES870XL), voltage rating, and water connection port dimensions must all match the original.
Replacement procedure overview:
Step 1 – Completely drain internal Water Lines
Before starting any disassembly, run a full cycle to purge all water from the internal system. Turn on the machine, run water through the steam wand and group head until the tank is empty, then turn off and unplug the unit. Allowing the machine to cool completely for at least 45 minutes protects you from hot water burns, prevents electrical shorts during disassembly, and ensures a dry work area.
Step 2 – Disassemble the Outer Machine Chassis
Carefully remove the outer housing panels (top, rear, and side panels as needed). Keep track of all screws and fasteners in a small tray to ensure a smooth reassembly process later.
Step 3 – Document and Map Wiring Connections
Take high-resolution photos of all electrical and water lines from multiple angles before touching any clips or wires. The thermocoil features 4 to 6 critical connections: two water hoses (inlet and outlet), two power wires for the heating element, a temperature sensor (NTC) wire, and a thermal cutoff fuse lead.
Step 4 – Disconnect High-Pressure Water Lines
Place a clean microfibre towel under the thermocoil to absorb residual drips. Carefully loosen the retaining clips or hose clamps and pull the inlet and outlet water hoses off the thermocoil ports.
Step 5 – Disconnect Electrical Wiring Harnesses
Disconnect all power terminals, thermal fuse connections, and the NTC temperature sensor wire. Refer to your reference photos to ensure no wires are yanked or strained during removal.
Step 6 – Unbolt the Thermocoil Mounting Bracket
Locate and remove the mounting screws or bracket securing the thermocoil to the machine’s internal frame. Carefully lift the damaged thermocoil assembly out of the chassis.
Step 7 – Mount and Wire the New Thermocoil
Position the new thermocoil into the frame and secure it with the mounting screws. Reattach the water inlet and outlet hoses using fresh hose clamps to guarantee a tight seal, then reconnect every electrical wire according to your reference photographs.
Step 8 – Perform a Dry Run and Leak Inspection
Partially reassemble the machine (leaving one side panel off for visual inspection). Fill the water tank, plug in the machine, and run 3 full flush cycles. Carefully check all hose joints and fittings for water leaks while verifying that the unit reaches normal brewing temperature.
Step 9 – Complete Final Reassembly
Once you have confirmed that there are no leaks and the thermocoil is heating up properly, turn off the machine, unplug it once more, and reattach the remaining chassis panels to complete the repair.