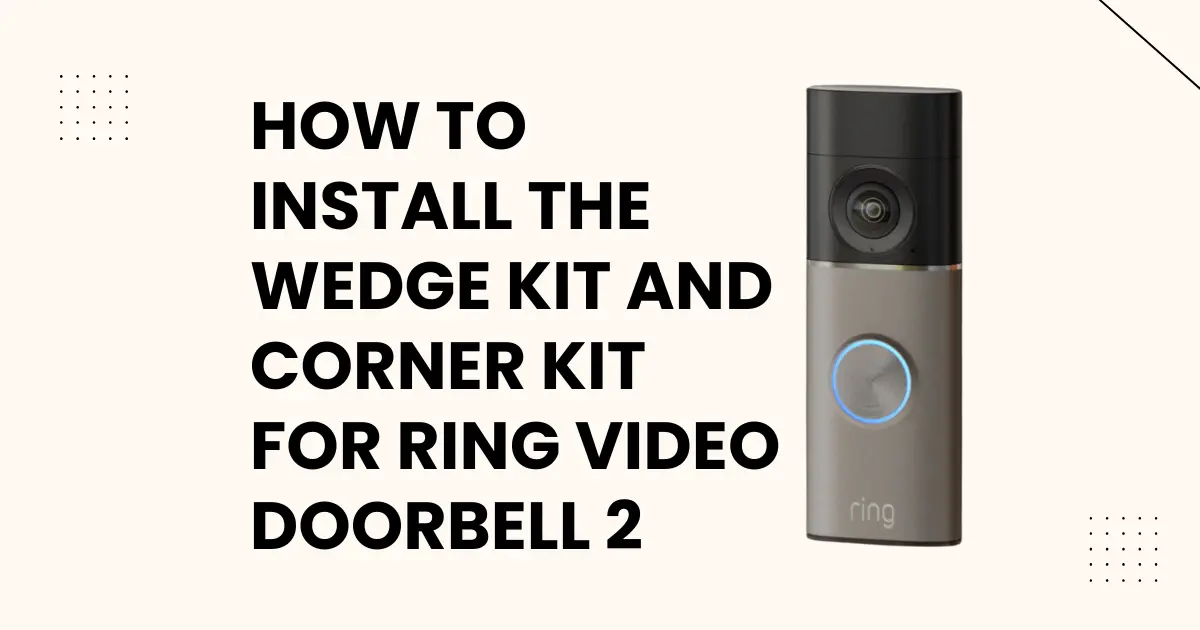
The Ring Video Doorbell 2’s 160-degree horizontal field of view is wide enough to cover the full approach zone to most front doors, but only when the camera is pointed in the right direction. A doorbell installed flat on a wall that runs parallel to a driveway or walkway will have its wide angle pointed across the driveway rather than down it. A doorbell installed on a corner surface will capture only the wall in front of it. These are installation geometry problems, not camera limitation problems, and Ring provides two dedicated mounting accessories to solve them: the Wedge Kit and the Corner Kit.
Understanding when each kit is needed, what angular adjustment each provides, how they integrate into the mounting sequence, and how the angle change affects motion detection coverage, not just the camera view, is the complete scope of this installation guide.
THE WEDGE KIT: WHAT IT IS AND WHAT IT SOLVES
The Wedge Kit is a 15-degree horizontal angle adapter that mounts between the wall and the Ring Video Doorbell 2’s mounting plate. It is included with the Ring Video Doorbell 2 in the retail package (in North American retail packaging).
What the Wedge Kit does
The Wedge Kit creates a 15-degree horizontal pivot from the mounting surface, rotating the doorbell face (and therefore the camera and PIR sensors) by 15 degrees to the left or right relative to the wall plane. It is used when the Ring Video Doorbell 2 is mounted on a flat surface, a wall face, or a door frame, and the camera needs to be redirected to improve coverage of the approach path.
When the Wedge Kit is needed
The need for the Wedge Kit is determined by the geometric relationship between the doorbell’s mounting surface orientation and the direction from which visitors approach. Ask: does the primary visitor approach path run roughly parallel to the mounting wall, or perpendicular to it?
Scenario where Wedge Kit is needed
A front door is set into a wall that runs left-to-right along the front of the house. The walkway and driveway approach the house from the right side. A flat-mounted doorbell on the door frame to the left of the door will have its camera axis pointing straight out from the wall perpendicular to the approach path, capturing mostly the opposite side of the entryway. Rotating the doorbell 15 degrees to the right (using the Wedge Kit oriented to the right) redirects the camera toward the driveway and walkway approach.
When the Wedge Kit is not needed
If visitors approach primarily perpendicular to the mounting wall directly toward the front door, the camera axis already faces the approach path and no angular correction is needed.
THE CORNER KIT: WHAT IT IS AND WHAT IT SOLVES
The Corner Kit is a 45-degree horizontal angle adapter that allows the Ring Video Doorbell 2 to be mounted on the corner of a building, fence post, or other structural corner, positioning the camera axis at 45 degrees to both wall faces of the corner. The Corner Kit is sold separately and is not included in the Ring Video Doorbell 2 retail package.
What the Corner Kit does
The Corner Kit provides a mounting surface on the vertical apex of an exterior corner, positioning the Ring Video Doorbell 2 at the corner junction and directing the camera along the 45-degree bisector of the corner angle. This gives the camera a view down both wall faces simultaneously, a coverage configuration not achievable with a flat wall mount.
When the Corner Kit is needed
The Corner Kit is used when there is no suitable flat wall surface adjacent to the entry point the door or gate is approached around a corner, or the installation location is a gatehouse post, fence corner, or structural pillar where the optimal camera position is at the corner apex rather than on a flat face.
The Corner Kit also solves a specific aesthetic and physical problem: mounting on a corner without a Corner Kit means the mounting plate bridges the corner apex with a gap behind it, leaving the device improperly supported and creating a path for moisture ingress behind the mounting plate.
TOOLS REQUIRED FOR BOTH KIT INSTALLATIONS
- Power drill with appropriate bits (wood bit for timber surfaces; masonry bit for concrete/brick)
- Phillips-head screwdriver
- T15 Torx screwdriver (included in the Ring Video Doorbell 2 package)
- Level (small bubble level or smartphone level app)
- Pencil for marking drill points
- Anchors (included in Ring package) if mounting to masonry
- Optional: Mounting stencil (included in some Ring packages) for accurate hole positioning
INSTALLING THE WEDGE KIT: STEP-BY-STEP
The Wedge Kit installation sequence follows these stages: determine the required angle direction, attach the Wedge Kit to the mounting plate, mount the combined Wedge Kit + mounting plate to the wall, and attach the Ring Video Doorbell 2 to the mounted assembly.
Step 1 – Determine the rotation direction
Stand at the primary visitor approach path (driveway, walkway, gate) and look toward the doorbell installation location. The camera needs to face back toward where you are standing. Determine whether the camera needs to rotate left or right from a perpendicular wall-face orientation to achieve this.
The Wedge Kit is reversible; it can be oriented to provide either a 15-degree leftward or 15-degree rightward rotation relative to the wall face. The wider end of the wedge points in the direction opposite to the camera rotation direction: if the camera needs to rotate right, the wider end of the wedge points left (the wedge is thicker on the left side, which physically rotates the mounted device rightward).
Step 2 – Attach the Wedge Kit to the mounting plate
The Ring Video Doorbell 2 mounting plate has pre-drilled holes that align with the Wedge Kit’s mounting hole pattern. Place the Wedge Kit’s flat face against the mounting plate’s rear face, aligning the holes. The Wedge Kit screws into the mounting plate using the provided screws. The combined assembly is now the unit that will be attached to the wall.
Step 3 – Mark the wall drilling positions
Hold the combined Wedge Kit + mounting plate assembly against the wall at the intended installation height and position. Use the bubble level to confirm the assembly is vertical (the mounting plate face, not the wedge; the wedge will be at an angle to the wall, which is intentional). Mark the drilling positions through the mounting plate holes onto the wall surface.
Standard installation height: The Ring Video Doorbell 2 performs optimally when its center is positioned at approximately 48 inches (4 feet) from the ground. At this height, the camera’s downward tilt captures faces and the PIR sensors cover the standard visitor approach zone.
Step 4 – Drill and install anchors (if required)
For wood or timber surfaces: drill pilot holes with a wood bit. For masonry, concrete, or brick: drill holes with a masonry bit and insert the provided plastic wall anchors.
Step 5 – Mount the Wedge Kit + mounting plate assembly to the wall
Use the provided screws to secure the assembly to the wall. Drive screws until the mounting plate face is firm against the wall surface; the wedge protrudes from the wall at its angle, with the device mounting face of the wedge at 15 degrees from the wall plane.
Step 6 – Route any existing doorbell wires
If hardwiring the Ring Video Doorbell 2, the existing doorbell wires must exit through the mounting plate’s wire entry channel. If the existing wires are too short to reach the terminal screws after routing through the plate, use the wire extenders included in the Ring package. The wire extender connection method and terminal screw configuration are detailed in the companion guide Ring Doorbell 2 Terminal Screws & Wire Extensions Guide.
Step 7 – Attach the Ring Video Doorbell 2 to the mounted assembly
Align the device’s rear tabs with the mounting plate’s slots, slide the device downward onto the plate until it is fully seated, and install the T15 Torx security screw at the bottom of the device to lock it to the plate.
INSTALLING THE CORNER KIT: STEP-BY-STEP
Step 1 – Assess the corner geometry
The Corner Kit is designed for 90-degree exterior corners, the standard right-angle corner of a building. Confirm the corner is approximately 90 degrees before proceeding. The Corner Kit will not seat flush against corners that deviate significantly from 90 degrees.
Step 2 – Position the Corner Kit on the corner apex
Hold the Corner Kit against the corner so each wing of the kit aligns flush with its respective wall face. The kit’s mounting face (where the Ring device will attach) should bisect the corner at 45 degrees and face outward toward the approach area. Mark the drilling positions through both wing faces onto both wall surfaces.
Step 3 – Drill and mount the Corner Kit wings
Drill the marked positions on both wall faces. For wood surfaces, use pilot holes and the provided wood screws. For masonry, use the provided masonry bits and anchors. Drive screws through both wings of the Corner Kit into both wall faces simultaneously; the Corner Kit spans the corner and derives its stability from fastening to both faces.
Step 4 – Check the mounting face orientation
With the Corner Kit mounted, the device mounting face should be at 45 degrees to both wall faces, bisecting the corner angle, and pointing toward the approach direction. Use a level to confirm the mounting face is vertical.
Step 5 – Attach the Ring Video Doorbell 2
Attach the Ring Video Doorbell 2’s mounting plate to the Corner Kit’s mounting face (the Corner Kit serves as the mounting surface; the standard mounting plate may or may not be needed depending on the Corner Kit design; verify against the specific Corner Kit version). Attach the device as in Step 7 of the Wedge Kit installation above.
HOW ANGLE ADJUSTMENT AFFECTS MOTION DETECTION – NOT JUST CAMERA VIEW
A critical and frequently overlooked aspect of Wedge Kit and Corner Kit installation is that the angular adjustment affects the PIR motion sensor coverage zone, not just the camera field of view.
The PIR sensors in the Ring Video Doorbell 2 are positioned inside the device housing with fixed orientations relative to the device face. When the device face is rotated 15 degrees (Wedge Kit) or 45 degrees (Corner Kit), the PIR detection zone rotates with it by the same angle.
The practical implication: after installing either kit, the motion zones configured in the Ring app should be re-evaluated. A motion zone that was correctly calibrated for a flat-mounted installation will now have its coverage offset by the installation angle. Walk the approach path after installation and observe which zones trigger; adjust the motion zone boundaries in the Ring app to correctly cover the approach path given the new physical orientation.
Additionally, the motion sensitivity setting may require adjustment after an angle change. An installation angle that now faces a street or moving vehicle traffic that was previously outside the detection zone will generate more motion events; sensitivity may need to be reduced or a more precise motion zone boundary set to exclude the new false-positive sources.
COMBINING WEDGE KIT AND CORNER KIT
The Wedge Kit and Corner Kit are not combinable; they are designed for different base installation scenarios (flat wall vs. 90-degree corner), not for additive angle correction. If a corner installation requires a direction adjustment beyond the Corner Kit’s 45-degree positioning, the solution is physical repositioning of the Corner Kit on the corner surface (moving it slightly toward one wall face or the other), not stacking a Wedge Kit on top of a Corner Kit.