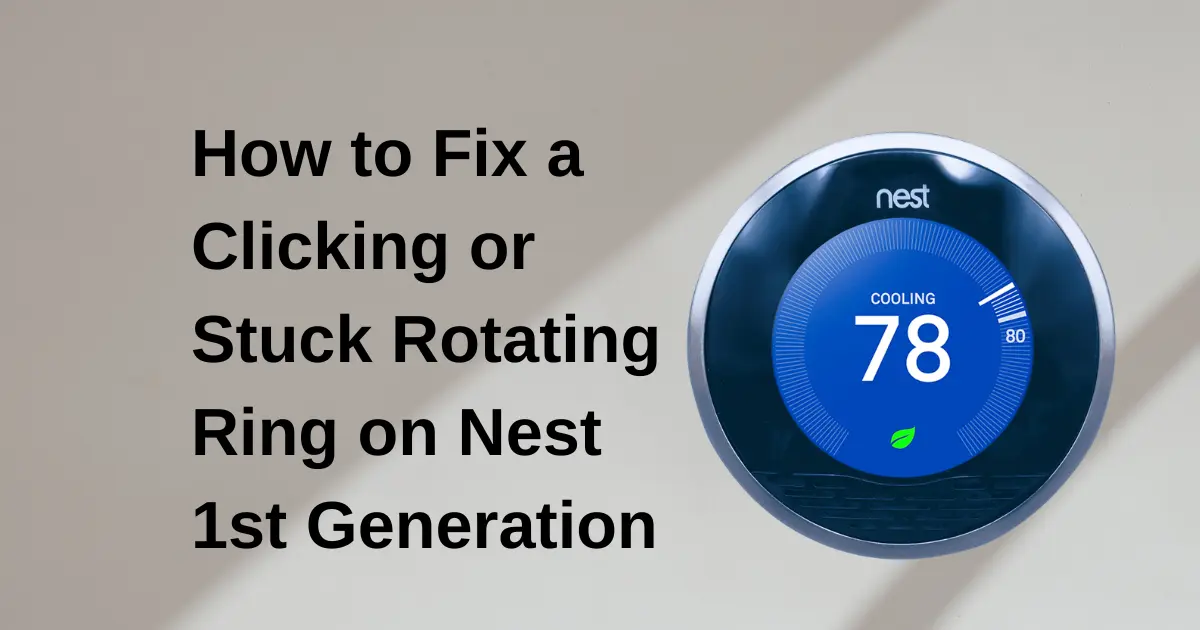
The rotating ring on the Nest Learning Thermostat 1st Generation is the device’s primary mechanical interface; it is touched more frequently than any other physical component of the thermostat, every day, across many years of service. The precision engineering that makes the ring feel distinctive when the device is new the weighted mass, the positive detent click, the friction-free rotation is also what makes mechanical degradation noticeable when it occurs. A ring that once rotated with a satisfying, precise click and then developed a harsh grinding noise, a sticky resistance, or a complete inability to rotate is communicating specific mechanical information about which component of the ring assembly has changed.
This guide identifies every documented cause of ring rotation problems on the Nest 1st Gen, provides a diagnostic framework for determining which cause is present, and gives the correct repair procedure for each.
UNDERSTANDING NORMAL RING BEHAVIOR BEFORE DIAGNOSING
Before diagnosing a ring problem, it is useful to establish what correct ring behavior sounds and feels like because some characteristics that concern new owners are actually normal.
Normal ring sounds and sensations
A distinct, positive click at each rotation increment, approximately 1 degree Fahrenheit of setpoint change per click
- A slight resistance at the start of each click (the detent ramp) followed by a definitive snap into the next position
- A subtle mechanical sound associated with each click present in all Nest 1st Gen units and sometimes perceived as louder in quiet nighttime environments
- Very slight wobble of the ring in the radial direction (in-and-out play) is normal, inherent to the retention clip design
Ring behaviors that indicate a problem requiring attention
- A harsh grinding or scraping sound during rotation, distinct from the normal click
- A click that occurs at non-uniform intervals (some steps produce no click, others produce a double-click)
- Physical resistance that makes rotation difficult at specific positions or throughout the full rotation
- Complete inability to rotate the ring in one or both directions
- The ring detaches or disengages from the housing during normal use
CAUSE 1: DEBRIS ACCUMULATION IN THE RING-HOUSING INTERFACE GAP
The most common cause of ring rotation problems in long-service Nest 1st Gen units is the accumulation of debris in the narrow gap between the ring’s inner circumference and the display housing exterior. This gap is approximately 0.5–1mm wide and runs the full circumference of the ring as a channel that progressively traps:
- Fine household dust and lint
- Pet hair (particularly fine undercoat fibers from cats and dogs)
- Skin oils transferred from fingertips during rotation
- Airborne grease aerosols (in kitchen-adjacent installations)
Initially, this accumulation increases friction only slightly; the detent feel becomes marginally stiffer. As the accumulation builds over months or years, the debris compacts into a semi-solid layer that physically restricts ring movement. In severe cases, a fiber or hair lodged in the detent mechanism can prevent the detent from engaging at all, producing a ring that rotates without the expected click feel or cannot rotate past the obstruction.
How to identify debris as the cause:
Shine a flashlight into the ring-housing interface gap at multiple positions around the circumference. Visible grey or brown compacted material in the gap, or a visible fiber or hair at the detent mechanism location, confirms this cause.
Repair External compressed air clearing
Direct short bursts of compressed air into the ring-housing gap at multiple positions around the ring’s circumference, rotating the ring slightly between bursts to expose different sections of the gap to the airflow. This is the appropriate first intervention; it is non-invasive and resolves the majority of debris accumulation cases.
After compressed air treatment, rotate the ring through its full range 5-10 times to confirm improved movement. If the problem persists, proceed to internal cleaning.
Repair Ring removal for deep cleaning
Remove the ring from the display housing (release procedure described below) and clean both the inner circumference of the ring and the outer housing surface where they interface. Use a cotton swab dampened with isopropyl alcohol (90%+) to dissolve accumulated grease and oil deposits. Allow to dry completely (at least 5 minutes) before reinstalling the ring.
CAUSE 2: DETENT MECHANISM DRY LUBRICANT DEGRADATION
The Nest 1st Gen’s detent mechanism (the spring-loaded ball-in-depression system that creates the click feel) is lubricated at manufacture with a small amount of grease at the detent ball and track surface. Over 10+ years of daily use in a climate-controlled environment, this lubricant dries, migrates away from the detent surfaces, or absorbs particulate contamination until the lubrication layer is effectively absent.
The result of a dry detent mechanism:
- The click sound becomes harsher and louder metal-on-metal rather than the damped click of a lubricated contact
- The peak resistance force at each detent step increases; rotation requires more force than previously
- The detent feel becomes irregular; some positions click more positively than others as the lubricant is inconsistently distributed
How to identify a dry detent mechanism
The sound change is the primary indicator: a harsh, dry click that was previously smooth and damped. If this sound change appeared gradually over months rather than suddenly, detent lubricant degradation is the likely cause (sudden changes indicate debris or physical damage).
Repair Relubrication
Remove the ring from the housing. Identify the detent ball/spring location on the inner ring surface or housing; it is a small protrusion (the ball) with a visible spring behind it. Apply a minimal quantity of appropriate grease to the detent ball and to the detent depression track on the mating surface.
Lubricant specification: Use a lithium-based or synthetic plastic-compatible grease (Nyogel 767A or equivalent is ideal; white lithium grease is a widely available alternative). Do not use petroleum-based oils or WD-40; these will attack and degrade the plastic housing components over time.
Apply the smallest possible quantity; a smear the size of a grain of rice is sufficient. Excess lubricant migrates into the encoder contact area and interferes with electrical contact.
After relubrication, rotate the ring through 10 full rotations to distribute the lubricant across the full detent track, then wipe away any excess that has squeezed out.
CAUSE 3: ENCODER CONTACT CONTAMINATION ERRATIC STEP REGISTRATION
The ring’s encoder contacts translate physical rotation into digital input signals. These contacts require clean, dry electrical contact at each position to register correctly. Contamination of the encoder contacts or the housing contact track produces erratic behavior: the display does not update on some rotation steps, temperature adjusts in double increments unexpectedly, or the device responds to rotation that the ring did not perform (ghost inputs).
How to identify encoder contact contamination
Erratic or missed steps that cannot be explained by debris restricting movement: the ring rotates physically, but the display does not always respond- indicate contact contamination rather than mechanical restriction.
Repair Contact track cleaning:
Remove the ring. Locate the encoder contact wiper on the ring’s inner surface: a small metal pad or multiple pads that slide along the contact track on the housing exterior. Clean both the contact pads on the ring and the contact track on the housing using a cotton swab lightly dampened with isopropyl alcohol. Allow to dry completely before reinstalling.
Do not apply any lubricant to the encoder contacts; the contacts require metal-to-metal dry contact for reliable signal transmission.
CAUSE 4: RETENTION TAB DAMAGE, RING WOBBLE OR DISENGAGEMENT
The retention tabs that hold the ring on the housing can crack or deform under repeated removal cycles or if the ring has been removed by pulling without locating the release point (applying off-axis force that overstresses the tabs).
Damaged retention tabs produce:
- Increased radial wobble (the ring moves noticeably in-and-out relative to the housing)
- One or more positions where the ring disengages from the housing partially
- In severe cases, the ring detaches completely during use
How to identify retention tab damage
With the ring installed, gently push and pull the ring in the radial direction (perpendicular to the housing surface). Normal play is approximately 0.5–1mm. Play exceeding 2mm, or an ability to partially disengage the ring without pressing the release point, indicates tab damage.
Repair options
If only one tab is damaged, the remaining tabs may provide sufficient retention by reinstalling the ring and confirming it stays in place during vigorous rotation. If retention is insufficient, the options are: sourcing a replacement ring (available from third-party Nest repair suppliers, typically machined to original specifications), or applying a thin strip of adhesive foam to the retention interface as a shimming solution (functional but less elegant).
RING REMOVAL PROCEDURE: THE CORRECT TECHNIQUE
All repair procedures for the ring require its removal. Incorrect removal is the most common cause of the retention tab damage described above.
Step 1: Locate the release point
The ring has a specific release point, typically at the bottom edge of the device (6 o’clock position) where the retention clip can be disengaged with minimal force. On some production variants, a small gap or slightly recessed area is visible at this position.
Step 2: Apply lateral outward pressure at the release point
Place a thumb or finger at the release point and apply outward pressure pulling the ring away from the housing face at this single point. Simultaneously rotate the ring slightly clockwise or counterclockwise (the direction varies between production variants; try both). The retention clip at the release point disengages with approximately 5–10 Newtons of force.
Step 3: Work around the circumference
Once the release point clip is disengaged, the ring pivots slightly outward at the bottom. Work around the circumference, applying progressive outward pressure, releasing the remaining retention tabs in sequence.
Step 4: Lift the ring free
Once all retention tabs are released, the ring lifts free of the housing. Note the ring’s orientation (typically marked by a subtle indicator or asymmetric feature) for correct reinstallation.
RING REINSTALLATION
Lower the ring onto the housing from the top (12 o’clock position), engaging the top retention tab first. Press progressively around the circumference, engaging each tab in sequence. Finish at the release point (bottom), pressing until the final clip engages with an audible click. Confirm the ring is fully seated and rotates correctly before returning the thermostat to the wall.