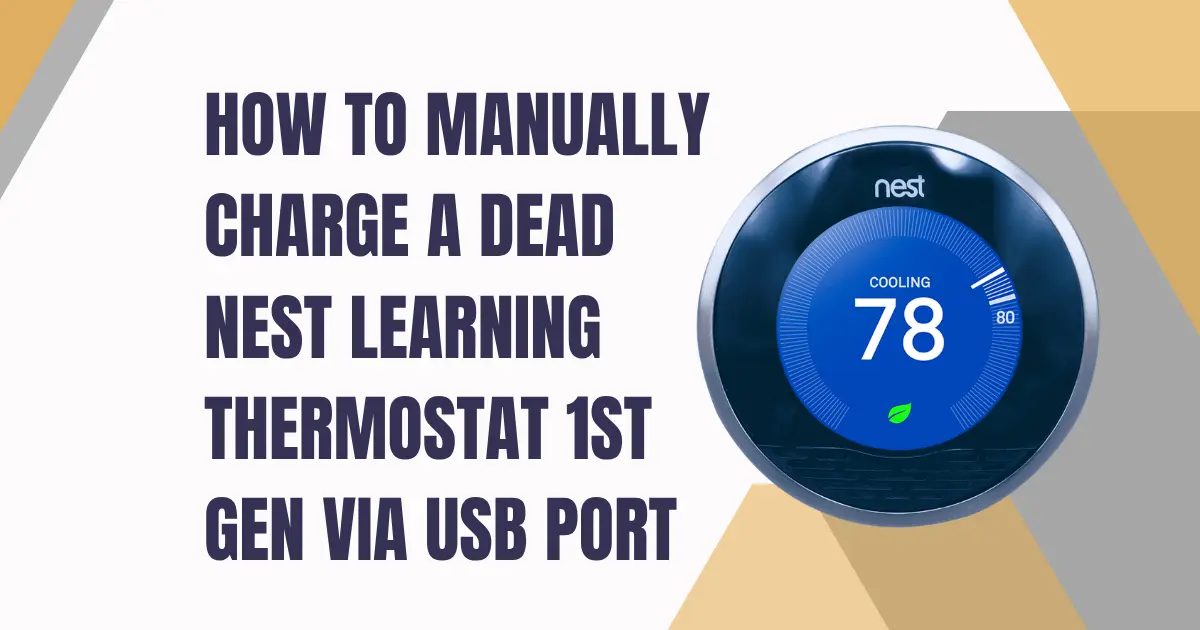
The Mini-USB port on the rear of the Nest Learning Thermostat 1st Generation display unit is one of the most valuable and least-known features of the device. It was included by Nest’s engineering team for two specific scenarios: charging the device before initial installation (so the thermostat arrives with sufficient battery charge to complete setup), and recovering a device whose internal battery has depleted to the point where it can no longer power on from the HVAC wiring trickle charge alone. For owners of aging 1st Gen Nest thermostat devices now well past their intended service life in which internal battery degradation is increasingly common, the USB charging port is the first-line recovery tool that restores operation in the majority of blank-screen events without requiring any disassembly, part sourcing, or professional service.
This guide provides every detail of the USB charging process: the correct cable specification, the expected charging behavior at each stage of recovery, the extended protocol for deeply discharged batteries, the relationship between USB charging and the HVAC trickle charge system, and the diagnostic conclusions that each charging outcome indicates.
THE MINI-USB PORT: LOCATION, SPECIFICATION, AND CABLE REQUIREMENTS
The Nest 1st Gen’s charging port is a Mini-USB Type B connector, a 5-pin connector format that was standard on mobile devices and cameras in the 2005–2013 period, before Micro-USB and then USB-C became dominant.
Critical cable specification
The Nest 1st Gen uses Mini-USB (5-pin, trapezoidal cross-section), not Micro-USB (5-pin, narrower, more rectangular cross-section) and not USB-C (oval, reversible). These connectors are physically incompatible; a Micro-USB cable will not fit in the Nest’s Mini-USB port. Owners who do not have a Mini-USB cable readily available must source one before proceeding. Mini-USB cables are available at electronics retailers and online; they are frequently sold as digital camera USB cables.
Port location
The Mini-USB port is on the rear face of the Nest 1st Gen display unit, the circular face that was against the backplate when the device was mounted. To access it:
1. Grip the display unit (the circular head) and pull it straight forward from the wall-mounted backplate. The magnetic connection releases with moderate, even pulling force. The backplate and its thermostat wires remain on the wall.
2. On the rear face of the display unit, locate the Mini-USB port. It is positioned in the lower section of the rear face, typically near the bottom edge or at the 6 o’clock position.
The device does not need to be fully disassembled; the rotating ring does not need to be removed, and no tools are required to access the USB port.
THE CHARGING CIRCUIT: WHAT HAPPENS WHEN USB IS CONNECTED
When a USB cable is connected to the Nest 1st Gen’s Mini-USB port and a power source:
- The 5V USB input reaches the logic board’s power management IC (PMIC)
- The PMIC applies this voltage through its battery charging circuit to the internal LiPo battery
- The charging current is limited to the USB 2.0 specification maximum of 500mA at 5V = 2.5W input power
The PMIC manages charging in three stages:
Pre-charge: If the battery is deeply discharged (below approximately 3.0V), the PMIC delivers very low current (50–100mA) to slowly recover the cell voltage without thermal risk. This stage can last 15–60 minutes on a severely discharged battery.
Constant current: Once the battery voltage rises above the pre-charge threshold, the PMIC delivers approximately 300–500mA constant current charging. The battery voltage rises steadily during this phase.
Constant voltage/termination: As the battery approaches 4.2V full charge, current tapers. Charging completes when current drops below approximately 50mA.
The Nest 1st Gen will power on when sufficient charge has accumulated for the PMIC to sustain the processor and display startup, typically when battery voltage reaches approximately 3.3-3.5V. This is not the same as full charge; the device will power on before charging is complete.
STANDARD USB RECOVERY PROCEDURE
This procedure applies to a Nest 1st Gen that is completely unresponsive (blank screen, no response to ring press or ring rotation).
Step 1 – Remove the display unit from the backplate.
Pull the display unit forward from the backplate. The thermostat wires remain in the backplate; the display unit is the component being charged.
Step 2 – Connect the Mini-USB cable to the display unit.
Insert the Mini-USB end of the cable into the Mini-USB port on the rear of the display unit.
Step 3 – Connect to a USB power adapter
Connect the USB-A end of the cable to a USB wall adapter (5V, minimum 0.5A; a standard smartphone charger is adequate). Plug the adapter into a wall outlet.
Do not use a computer USB port: Computer USB ports on many modern systems may not maintain power output at full 500mA consistently, particularly if power management features are active. A dedicated wall adapter provides more reliable charging current for deep discharge recovery.
Step 4 – Allow a minimum of 30 minutes before expecting any response
If the battery is in deep discharge or pre-charge mode, no visible response will occur for the first 15–60 minutes. This period is the most common point at which owners incorrectly conclude the device is unfixable and stop the charging attempt. Allow at least 30 minutes of uninterrupted charging before assessing.
Step 5 – Monitor for boot:
When sufficient charge has accumulated, the Nest will power on automatically, displaying the Nest or Google logo followed by the thermostat interface. This can occur anywhere from 20 minutes to over an hour after connecting USB, depending on the battery’s discharge depth.
Step 6 – Continue charging for at least 2 hours after boot
After the device powers on, continue USB charging for a minimum of 2 additional hours to bring the battery to a more substantial state of charge. A device that is reconnected to the backplate immediately after just barely powering on may return to a blank screen within hours if the battery has not received adequate charge.
EXTENDED PROTOCOL FOR DEEPLY DISCHARGED BATTERIES
A LiPo battery that has been discharged below 2.5V enters a deep discharge state in which the battery management system’s protection circuit may have permanently interrupted battery output. In this state, the standard USB charging procedure may not work because the BMS prevents any current from flowing even when USB power is applied.
Signs that a battery is in deep discharge protection:
- No response whatsoever after 90+ minutes of USB charging
- No warmth at the battery area of the device during charging (a charging battery produces slight warmth)
- The device powers on with USB connected but immediately shuts down when USB is disconnected (the PMIC is being powered directly from USB, but the battery is disconnected by the BMS)
Extended recovery protocol:
Step 1 – Attempt an overnight charge
Connect the USB charger and leave it undisturbed for 8–12 hours. Some BMS circuits recover from deep discharge protection after extended low-current contact; the pre-charge current from the PMIC sometimes slowly brings the battery voltage above the BMS re-enable threshold over extended periods.
Step 2 – If overnight charging produces no boot
The battery is either in permanent deep discharge protection or has experienced cell failure. USB charging cannot recover a battery in permanent failure. Battery replacement is the correct next step.
Step 3 – Verify the USB cable and adapter
Before concluding battery failure, confirm the USB cable is functional (test with another device), and the adapter is providing 5V output (measure with a multimeter if available).
WHAT HAPPENS AFTER USB CHARGING: THE TRICKLE CHARGE CONTINUATION
After USB recovery charging, the device must be reconnected to the HVAC backplate to enable trickle charging and maintain the battery going forward. USB charging is a recovery tool, not a permanent power solution; the device is designed to be powered from its backplate wiring, not continuously from USB.
When the device is reattached to the backplate, the HVAC wiring trickle charge resumes. The adequacy of this trickle charge, whether it can maintain the battery over the long term, depends on the wiring configuration:
C-wire present: Reliable continuous trickle charge. The device should maintain battery charge indefinitely under normal use.
No C-wire (power stealing only):
Intermittent trickle charge. Adequate in some HVAC systems and climates, inadequate in others. Monitor battery voltage via Technical Info for the first few weeks after recovery. If voltage trends below 3.6V despite confirmed operation, the wiring configuration is insufficient and C-wire addition or battery replacement is indicated.
USING USB CHARGING AS A DIAGNOSTIC TOOL
The outcome of the USB charging attempt provides definitive diagnostic information:
USB charging recovers the device to full normal operation; the device maintains charge when reconnected to the backplate with C-wire: The blank screen event was caused by a temporary deep discharge. The battery may still have years of service remaining. Monitor battery voltage periodically.
USB charging recovers the device, but it returns to blank screen within days/weeks on backplate without C-wire: Battery has degraded below the point where power stealing provides adequate maintenance charge. Options: add C-wire, or replace battery. The battery specifications and replacement procedure are in the companion guides Nest Learning Thermostat 1st Gen Internal Li-ion Battery Specifications and How to Replace the Internal Rechargeable Battery on a 2011 Nest Thermostat.
USB charging produces no recovery after 90+ minutes: Battery is in deep discharge protection or has failed entirely. Proceed to battery replacement.
USB charging powers the device during connection, but the device shuts down when USB is disconnected: The BMS has isolated the battery cell; the PMIC is running from USB power directly but cannot charge the protected battery. Battery replacement required.