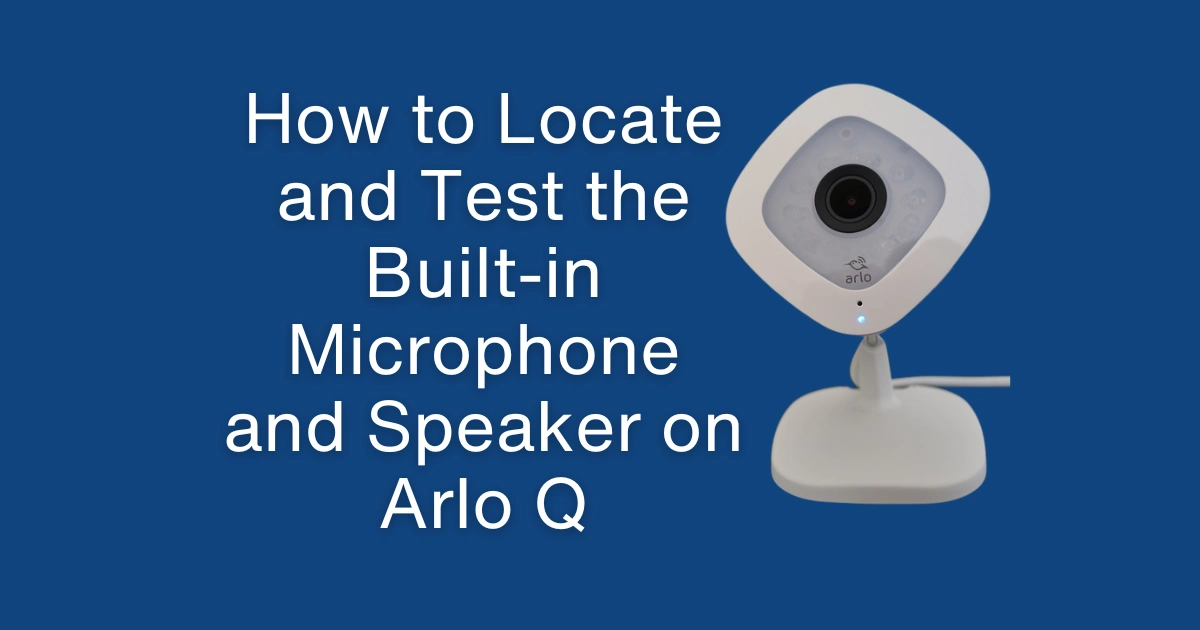
The Arlo Q’s two-way audio capability transforms it from a passive recording device into an active communication tool, a camera from which an owner can speak to a person in the monitored space and hear their response in real time through the Arlo mobile application. This capability depends on two discrete hardware components: a microphone that captures room audio and transmits it to the cloud and remote viewer, and a speaker that receives the remote viewer’s voice and plays it audibly in the monitored space. Both components must be functional, and the audio signal path between the Arlo Q and the remote app must be intact, for two-way audio to work correctly.
Understanding where these components are physically located in the Arlo Q, how they work in the device’s audio circuit, what symptoms indicate hardware failure versus network or software issues, and how to test each component independently is the complete diagnostic foundation for resolving Arlo Q audio problems.
THE MICROPHONE: LOCATION, TYPE, AND ACOUSTIC DESIGN
Location:
The microphone on the Arlo Q is located on the rear of the camera housing, the face opposite the lens. On the rear face, one or two small openings (microphone ports) are visible. The positioning on the rear face rather than the front face is a deliberate acoustic design choice: the microphone should capture sounds from the room behind the camera (where the monitored space is), not from directly in front of the lens (where the camera is pointed toward).
Component type:
The Arlo Q uses a MEMS (Micro-Electro-Mechanical Systems) microphone, a micro-fabricated transducer mounted directly on the device’s PCB. MEMS microphones are standard in this product category due to their miniaturization, consistent performance, and resistance to vibration and shock compared to traditional electret condenser microphones.
Acoustic sensitivity and frequency response
MEMS microphones in this class have sensitivity ratings of approximately -40 to -38 dBFS (decibels full scale) and flat frequency response from approximately 100 Hz to 10 kHz, adequate for speech intelligibility but not for high-fidelity music reproduction. The Arlo Q’s audio is optimized for human voice clarity, which occupies the 300 Hz to 3.4 kHz range of the audio spectrum.
Directionality
The MEMS microphone in the Arlo Q is an omnidirectional transducer; it captures sound from all directions approximately equally. This is appropriate for room monitoring (you want to hear sound from anywhere in the space), but it also means the microphone captures ambient noise, echo, and reverberation without spatial filtering.
THE SPEAKER: LOCATION, TYPE, AND ACOUSTIC DESIGN
Location
The speaker on the Arlo Q is also on the rear face, distinguished from the microphone port by its larger grille opening. The speaker grille typically covers an area of approximately 10-15 mm in diameter.
Component type
A small-diameter dynamic driver speaker, the conventional moving-coil speaker type, in miniaturized form. The speaker diameter is approximately 10- 13 mm, constrained by the Arlo Q’s compact housing.
Acoustic performance characteristics
A 10mm speaker driver produces meaningful acoustic output at frequencies above approximately 1-2 kHz (the midrange and upper frequencies of speech) but has limited bass response. The practical consequence: voices heard through the Arlo Q speaker are intelligible but thin-sounding, lacking the low-frequency warmth of a full-range speaker. This is expected behavior for a security camera’s speaker, not a hardware deficiency.
Maximum sound pressure level: approximately 75–85 dB at 1 meter, sufficient to be heard across a typical room when the speaker is at maximum volume in the Arlo app, but not sufficient to compete with significant ambient noise (TV at high volume, running appliances).
THE TWO-WAY AUDIO SIGNAL PATH
Understanding the full signal path for two-way audio helps distinguish where a failure is occurring in the hardware, the local network, or the cloud infrastructure.
Path for microphone audio (room-to-app)
Arlo Q microphone → microphone preamplifier on PCB → ADC (analog-to-digital converter) on audio codec IC → audio encoding (AAC or similar) in device firmware → Wi-Fi transmission → Arlo cloud server → Arlo app on remote device → local speaker
Path for speaker audio (app-to-room)
Arlo app microphone input → AAC encoding → internet transmission → Arlo cloud server → Wi-Fi transmission to Arlo Q → audio decoding in device firmware → DAC (digital-to-analog converter) on audio codec IC → audio amplifier on PCB → Arlo Q speaker
This path reveals that any disruption at the local Wi-Fi connection, at the Arlo cloud server, at the internet connection between the user’s phone and the cloud, or at the Arlo app’s microphone permission can produce symptoms that appear to be hardware failures in the microphone or speaker.
TESTING THE MICROPHONE: ISOLATING HARDWARE FROM NETWORK CAUSES
The Arlo Q’s motion-activated recording captures audio from the microphone whenever the camera records a clip or event. Testing the microphone through recorded footage is the most reliable isolation method; it bypasses the live two-way audio path (which involves the Arlo cloud, the user’s app, and the user’s internet connection) and tests only the microphone-to-recording chain.
Microphone test procedure:
Step 1 – Trigger a motion recording by walking in front of the Arlo Q.
Step 2 – Play back the recorded clip in the Arlo app.
Step 3 – Confirm that ambient room sounds (your footsteps, any background audio) are audible in the playback.
If audio is present in playback: The microphone hardware and the microphone-to-recording signal path are functional. Any two-way audio problem (no sound during live view) is a network or app-level issue, not a hardware failure.
If no audio is present in playback: Either the microphone hardware has failed, or the microphone is physically blocked (debris in the microphone port). Confirm that the microphone port on the rear face is unobstructed. If clear, the microphone component or its PCB-level connection has failed.
TESTING THE SPEAKER
The Arlo Q’s speaker can be tested directly through the Arlo app’s two-way audio function or through the camera’s startup sound (the Arlo Q produces a brief startup tone when it boots, audible from the speaker).
Speaker test procedure:
Step 1 – Power cycle the Arlo Q (unplug and reconnect the AC adapter). Listen for the startup tone when the device boots. The tone should be audible in the room at moderate volume.
Step 2 – In the Arlo app, initiate a live view and then activate the talk function (microphone button). Speak into the phone’s microphone and confirm audio plays from the Arlo Q’s speaker in the room.
If the startup tone is absent but the camera powers on (LED is active), the speaker hardware has failed, or the speaker connection to the PCB has failed.
If the startup tone is present but two-way audio talk function produces no speaker output: The issue is in the live audio streaming path, likely network latency, app settings, or insufficient network bandwidth, not the speaker hardware.
COMMON AUDIO FAILURE SYMPTOMS AND THEIR CAUSES
Echo in two-way audio (your voice echoes back to you)
Cause: The Arlo Q’s speaker output is being picked up by its microphone and retransmitted. This is acoustic feedback in the two-way audio path. It occurs when the speaker and microphone are not electronically isolated (echo cancellation failure) or when the speaker volume is so high that the microphone picks up its output.
Diagnosis: Software/firmware rather than hardware; the echo cancellation algorithm in the device firmware is not adequately suppressing speaker-to-microphone leakage.
Static or buzzing noise in microphone audio:
Cause 1: Electromagnetic interference (EMI) from the camera’s own electronics coupling into the microphone circuit. This is a PCB-level shielding issue that cannot be addressed without hardware modification.
Cause 2: The microphone port is partially blocked, causing turbulence in the acoustic path that produces a rushing noise.
Cause 3: The microphone component’s MEMS membrane has been contaminated or damaged.
Muffled or low-volume microphone audio
Cause: The microphone port opening is fully or partially blocked by dust, lint, or an adhesive residue. Clean the port with compressed air.
No audio in recorded clips despite confirmed microphone function
Cause: Audio recording may be disabled in the camera settings. Check the Arlo app: Settings → Camera Settings → Audio → confirm audio recording is enabled.
Complete resolution of all two-way audio issues, including network latency, echo, and static, is covered in the companion guide Troubleshooting Two-Way Audio: Fixing Echo and Static Noise on Arlo Q Indoor Camera.