

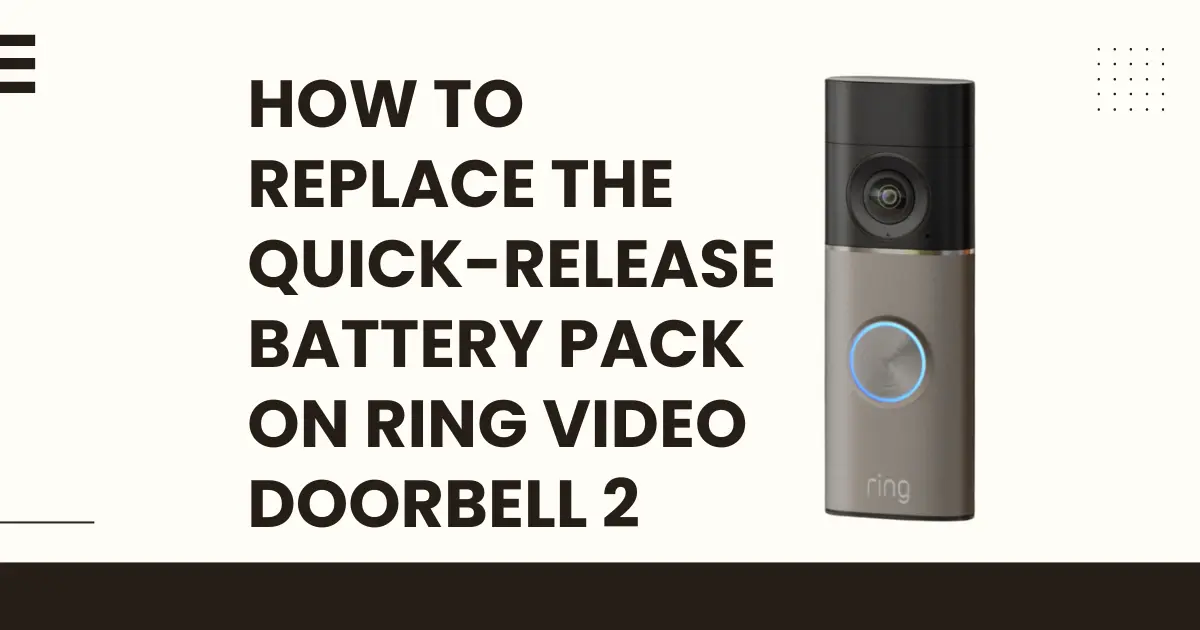
The quick-release battery pack on the Ring Video Doorbell 2 is the defining feature that separates it from the original Ring Video Doorbell: the ability to remove the battery without tools, charge it on a separate USB charger while the device remains mounted, and reinstall a charged battery in under a minute. This swappable battery design is both a convenience feature and a maintenance architecture: understanding how the quick-release mechanism works, how to execute the removal and installation correctly, and what conditions indicate that a battery needs replacement (versus recharge) enables owners to maintain the Ring Video Doorbell 2 at full performance with minimal disruption.
UNDERSTANDING THE QUICK-RELEASE MECHANISM
The Ring Video Doorbell 2 battery pack sits in a compartment in the lower rear section of the device body. It is retained in this compartment by a spring-loaded latch mechanism, not screws, tools, or friction alone. The latch engages automatically when the battery is inserted fully, and releases when the latch button (visible at the base of the device body or at the battery compartment opening, depending on which side is accessible) is pressed.
The quick-release design means:
1. The battery can be removed with one hand in under 10 seconds
2. No tools are required for battery swap
3. The device does not need to be removed from the mounting bracket for a battery swap; the security screw that locks the device to the bracket does not need to be removed
4. A spare battery can be pre-charged and ready, allowing instant performance restoration when the installed battery is depleted
The battery pack itself is a rectangular lithium-ion cell assembly with Ring-proprietary contacts on one end and a Micro-B USB charging port on the other end. The contacts mate with corresponding contacts in the battery bay of the device when inserted. Charging occurs through the USB port on the battery, not through the device body.
BEFORE REMOVING THE BATTERY: SECURITY SCREW STATUS
The Ring Video Doorbell 2 is secured to its mounting bracket by a T15 Torx security screw at the base of the device. This screw prevents the device from being lifted off the bracket without the included T15 Torx screwdriver; it is the anti-theft mechanism for the device body.
For battery replacement, this security screw does not need to be removed. The battery compartment is accessible without removing the device from the bracket. However, the security screw must not be stripped or damaged; a damaged security screw prevents both battery access and device removal for hardwire connections or maintenance. The causes of and solutions for stripped T15 security screws are addressed in the companion guide Fixing Stripped Security Screws (T15 Torx) on the Bottom of Ring Doorbell 2.
STEP-BY-STEP BATTERY REMOVAL PROCEDURE
The battery can be accessed either with the device mounted (the most convenient approach for routine battery swaps) or with the device removed from the bracket (necessary if the device has been unmounted for other maintenance).
Removing the battery with the device mounted:
Step 1 – Approach the mounted Ring Video Doorbell 2 and locate the battery compartment. The battery compartment is at the lower rear of the device body — the section below the camera and motion sensor face. If the device is mounted on a bracket, the battery compartment faces toward the wall; the release mechanism is accessible from the side or bottom depending on the production variant.
Step 2 – Locate the quick-release latch button. On the Ring Video Doorbell 2, the latch is a small button or tab on the battery pack itself or on the device at the battery bay opening. Press this release button firmly with a thumb or finger.
Step 3 – While holding the release button pressed, slide or pull the battery pack out of the bay in the direction of the battery’s axis (typically downward or outward, depending on the mounting orientation). The battery should slide free smoothly when the latch is fully depressed.
Step 4 – Once the battery is partially out of the bay and the latch has cleared, the battery can be pulled fully free without maintaining pressure on the release.
Important: Do not force the battery if it does not release easily. Forcing a battery with the latch not fully depressed can damage both the latch mechanism and the battery pack contacts. If the battery does not release, confirm the release button is being pressed fully to its stop; partial pressure may not fully retract the latch.
Removing the battery with the device unmounted:
If the device has been removed from the bracket (for hardwire inspection, relocation, or other maintenance), the battery removal follows the same latch-and-slide procedure but with the device in hand. Removing the T15 security screw and lifting the device off the bracket gives full access to the battery compartment from all angles.
CHARGING THE REMOVED BATTERY
The Ring Video Doorbell 2 battery charges via the Micro-B USB port on the battery pack itself. This port is located on the opposite end of the battery from the device contacts.
Charging procedure
Connect a Micro-B USB cable from the battery’s charging port to any standard USB power adapter (5V). A wall charger, computer USB port, or USB hub all work. Ring does not include a USB power adapter in the Ring Video Doorbell 2 retail package; use any existing 5V USB charger.
Charge indicators: The battery pack has a small LED indicator on its body that illuminates during charging. The LED color/pattern indicates:
- Solid red: Charging in progress, battery at low charge
- Solid green: Charging complete (fully charged)
- Flashing red: Battery fault or very deeply discharged state (allow 30 minutes of charging before the indicator transitions to solid red)
Charging time: From depleted to full charge, the Ring Video Doorbell 2 battery requires approximately 5 to 10 hours on a standard 5V/1A USB charger. A higher-current USB charger (5V/2A) reduces charging time to approximately 4 to 6 hours. Fast charging protocols (QuickCharge, USB Power Delivery) are not supported by the battery’s charging circuit — maximum charge rate is governed by the battery’s internal BMS (Battery Management System).
INSTALLING A CHARGED BATTERY
Battery installation is the reverse of removal, but with a specific attention point: the battery must be inserted in the correct orientation, with the contacts end first, aligning with the corresponding contacts in the battery bay.
Step 1
Inspect the battery contacts and the bay contacts. Both sets should be clean and free of corrosion or debris. If either shows green or white oxidation, clean with a dry cotton swab before installation. Oxidized contacts cause inconsistent charging and can cause the device to falsely report a connection fault.
Step 2
Orient the battery with the contacts end facing into the battery bay. The battery has a notch, rib, or asymmetric shape that ensures it can only be inserted in one orientation; do not force it in the wrong orientation.
Step 3
Slide the battery into the bay smoothly and firmly until the latch clicks. The latch click is audible and tactile; it confirms the battery is fully seated and locked. A battery that is inserted 90% of the way without latching is not correctly installed and may have intermittent contact.
Step 4
After reinstallation, the Ring Video Doorbell 2 will briefly reboot (the LED on the front of the device will flash) before resuming normal operation. This is expected behavior; the device is restarting and reconnecting to Wi-Fi after a power interruption.
WHEN TO RECHARGE VERSUS REPLACE THE BATTERY
The Ring Video Doorbell 2 battery degrades over charge cycles; its capacity to hold charge diminishes over time as lithium-ion cells age. The question of whether a battery that is depleting quickly needs recharging more frequently or needs replacement is answered by one diagnostic: how many hours of operation does a full charge deliver compared to when the battery was new?
A new Ring Video Doorbell 2 battery at typical use (1–3 activations/day, moderate temperatures, good Wi-Fi signal) delivers approximately 6 to 12 months of battery life between charges. A battery that now requires charging every 2 to 4 weeks under the same conditions has reached significant capacity degradation, and replacement is the correct resolution.
A battery that depletes unusually quickly despite being new or recently purchased may indicate a non-battery problem: poor Wi-Fi signal causing increased radio transmit power consumption, excessive motion activations recording long video clips, very cold ambient temperatures (below freezing), or a charging problem preventing the battery from reaching full charge. These causes must be ruled out before attributing rapid battery drain to battery failure. The detailed diagnosis of each cause is covered in the companion guide Why is My Ring Video Doorbell 2 Battery Draining So Fast? (Top 5 Causes).
OPERATING WITH A SPARE BATTERY
Ring recommends purchasing a spare Quick-Release Battery Pack (sold separately as Ring Quick Release Battery Pack, compatible with Ring Video Doorbell 2) to eliminate downtime during charging. A spare battery workflow:
1. When the Ring app sends a low battery notification, remove the installed battery.
2. Install the pre-charged spare immediately after the device resumes operation within 60 seconds.
3. Charge the removed battery at leisure.
4. When the replacement battery next depletes, the originally removed battery (now fully charged) becomes the spare again.
This two-battery rotation eliminates the 5-10 hour charging window during which the device has no battery and no operational capability.

Changed battery and doorbell does not work!