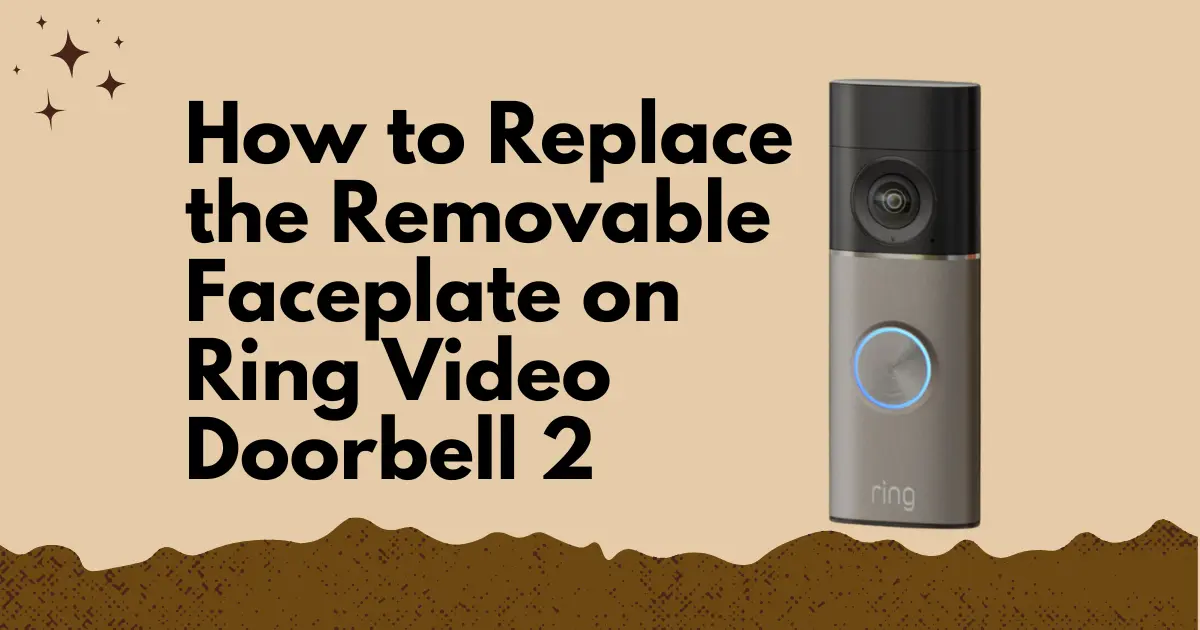
The faceplate on the Ring Video Doorbell 2 is the outer decorative shell that covers the device’s front face. It surrounds the camera, motion sensor, LED ring, and doorbell button, and is the first component a visitor sees when approaching the front door. Ring designed it to be removable and replaceable: it can be swapped for different color options without tools, and its removal is the first step in accessing the device’s internal components for repair or maintenance. Understanding the faceplate’s attachment mechanism, how to remove it correctly without cracking the clips, which replacement faceplates are compatible, and how faceplate condition affects the device’s functional components makes the difference between a simple swap and a frustrating repair.
THE FACEPLATE’S ROLE: MORE THAN AESTHETICS
The Ring Video Doorbell 2 faceplate is correctly understood as a functional component, not merely a cosmetic one. Beyond its visual role, it serves three physical functions:
Weather protection
The faceplate’s rear surface creates a barrier between the outer environment and the device’s internal electronics, reducing the direct exposure of the camera lens cover, LED ring, and button mechanism to rain, wind-blown dust, and UV radiation. The faceplate does not provide a watertight seal on its own (the IP55 rating depends on the full device assembly), but it significantly reduces direct environmental exposure to the device face.
Lens and button protection
The camera lens cover and the doorbell button mechanism are recessed within the faceplate frame; the faceplate’s raised perimeter provides physical protection against contact damage during cleaning, installation adjustments, and accidental impacts.
Structural retention of the button assembly
The faceplate clip mechanism holds the device’s decorative front panel in tension against the housing, contributing to the retention of the button mechanism and preventing it from vibrating loose under normal use conditions.
THE CLIP MECHANISM: HOW THE FACEPLATE ATTACHES
The Ring Video Doorbell 2 faceplate attaches to the device body via a series of plastic retention clips, typically four to six clips positioned around the perimeter of the faceplate’s rear surface. These clips engage with corresponding slots or lips on the device body.
The clips are designed to engage under moderate snap force (the faceplate “clicks” into place during installation) and to release under controlled lateral or outward pressure at the clip locations. This snap-fit design allows tool-free removal but requires understanding where the clip locations are to avoid breaking them during disassembly.
Clip locations
The clips are typically positioned at the bottom edge (two clips), the left side (one clip), and the right side (one clip), with additional clips at the top on some production variants. The bottom clips are the primary retention points; the faceplate is designed to be removed by starting at the bottom and working upward.
REMOVING THE FACEPLATE: STEP-BY-STEP
The faceplate removal procedure takes approximately 30 seconds when performed correctly. The most common mistake when pulling the faceplate from the top before releasing the bottom clips results in bent or broken clips.
Tools: No tools required for standard faceplate removal. A plastic pry tool or a guitar pick can assist if the bottom clips are stubborn.
Step 1 – Confirm the device is mounted or held securely
The faceplate can be removed with the device on or off the mounting plate. If the device is mounted, the mounting plate provides a stable base during the removal. If the device has been removed for maintenance, hold it firmly with one hand or place it face-down on a soft surface.
Step 2 – Locate the release notch at the bottom of the faceplate.
The bottom edge of the Ring Video Doorbell 2 faceplate typically has a small notch or recessed area, a finger-grip point designed for faceplate removal. This is positioned at the center or slightly to one side of the bottom edge.
Step 3 – Apply outward pressure at the bottom edge
Place a thumb or finger at the release notch and apply firm, steady outward pressure pulling the bottom of the faceplate away from the device body. You should feel or hear the bottom clips release. Do not yank abruptly; a controlled, steady pull releases the clips without stressing them.
Step 4 – Work upward along each side
Once the bottom clips are released, the faceplate pivots outward from the bottom. Continue applying outward pressure progressively up each side, releasing the side clips in sequence. Do not pull the faceplate away from the top while the side clips are still engaged; this levers the faceplate in a direction opposite to the clip release direction and can crack the clip attachment points.
Step 5 – Release the top and fully remove the faceplate.
Once all side clips are released, the faceplate lifts free from the top engagement point and can be fully removed.
The removed faceplate should show no cracking, whitening (stress marks), or deformation at the clip locations. If any clips show whitening, they were stressed; inspect them for cracks before reinstalling to confirm they will still retain securely.
INSTALLING A REPLACEMENT FACEPLATE
Faceplate installation is the reverse of removal: start at the top, align the top engagement point, press along the sides to engage the side clips, and finish by pressing the bottom edge firmly until both bottom clips click into place.
The click is the confirmation of correct installation; each clip should produce an audible and tactile click when it engages. A faceplate that sits flush but has not clicked into position at all clip locations will vibrate and eventually work loose.
Alignment check before final clip engagement
Before pressing the bottom clips into place, confirm the faceplate is correctly aligned: the camera aperture in the faceplate should center over the camera lens, the button aperture should align with the button mechanism, and the LED ring aperture should align with the LED components on the device face. Pressing the bottom clips with a misaligned faceplate can crack the faceplate or damage the LED ring.
AVAILABLE FACEPLATE OPTIONS AND COMPATIBILITY
Ring sells replacement and alternative faceplates for the Ring Video Doorbell 2 in several color options: Venetian Bronze (the standard included color), Satin Nickel, Pearl White, and limited-edition colors released seasonally. These are available from Ring’s website and major retailers.
Compatibility between Ring doorbell generations
Faceplates are not universally interchangeable between Ring doorbell generations. The Ring Video Doorbell 2 uses a faceplate design specific to the second-generation body; it is not compatible with the original Ring Video Doorbell (first-generation) faceplate, nor with Ring Video Doorbell 3 or 4 faceplates. When purchasing a replacement faceplate, confirm the label explicitly states compatibility with “Ring Video Doorbell 2” not just “Ring Video Doorbell.”
Third-party faceplates:
Third-party decorative faceplates for the Ring Video Doorbell 2 are available from accessory manufacturers. Quality varies significantly the primary concern with third-party faceplates is clip geometry. If the clip positions or clip tab geometry of a third-party faceplate does not precisely match Ring’s specification, the clips may not engage fully or may engage with inadequate retention force, causing the faceplate to fall off in cold weather (when the plastic becomes more brittle) or during vibration events (slamming of the front door).
FACEPLATE REMOVAL AS PART OF INTERNAL ACCESS DISASSEMBLY
The faceplate removal procedure described above is Step 2 in the complete Ring Video Doorbell 2 internal disassembly sequence required before accessing the charging board, button mechanism, camera lens cover, and other internal components. When performing faceplate removal as a disassembly step (rather than as a faceplate swap), additional care should be taken with the internal components exposed after removal.
After faceplate removal, the following components are accessible:
- Camera lens cover (the transparent or semi-transparent disc over the camera sensor)
- LED ring assembly (the ring of LEDs surrounding the button)
- Doorbell button mechanism
- The front housing screws that, when removed, allow the front housing to separate from the rear housing for full internal access
The camera lens cover in particular is a component that accumulates scratches over time from cleaning. If the faceplate is being removed for a lens cover replacement, the correct cleaning and replacement procedure is covered in the companion guide Cleaning and Replacing a Scratched Camera Lens Cover on Ring Doorbell 2.
FACEPLATE CLEANING AND MAINTENANCE
The faceplate is the Ring Video Doorbell 2’s most exposed surface and accumulates dirt, oxidation, bird droppings, pollen, and other outdoor residue. Regular cleaning preserves appearance and prevents debris from working into the button aperture and camera aperture.
Cleaning method: Wipe with a soft, slightly damp cloth. For stubborn residue, a small amount of mild dish soap on the cloth is safe for the plastic surface. Avoid abrasive cleaners, solvents, or rough cloths that can scratch the faceplate finish.
Cleaning frequency: Monthly is adequate in most environments. In environments with heavy pollen, coastal salt air, or industrial airborne particles, more frequent cleaning prevents surface etching.
Do not use a pressure washer or high-pressure hose to clean the faceplate; this exceeds the IP55 water resistance rating of the device and risks forcing water behind the faceplate through the clip gap.